All textures used in this tutorial are available for instant download at
www.RosehavenCottageDownloads.com
www.RosehavenCottageDownloads.com
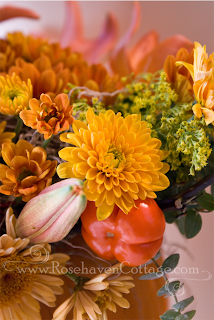
For this tutorial, I thought it would be fun to share how I go about digitally altering a photograph to make it look like a chalk or pastel drawing like "Autumnal Bouquet" (above).

The first thing I do is find a promising photograph that I've taken of a flower arrangement. I find that the best floral photos are taken in indirect natural light. That means that if the object I'm shooting is being lit by sun come in a nearby window without directly shining on the object, it'll be great lighting. I like to use auto-focus when I shoot so that I get a crisp focus. I aim at the central object in the arrangement (in this case the yellow mum) and then shoot. I take multiple shots just to be sure I've gotten one really good sharp shot.
After I take it back to my computer and bring it into Photoshop (I use CS3, but Photoshop Elements will work too), I make the photograph the first layer in a file.
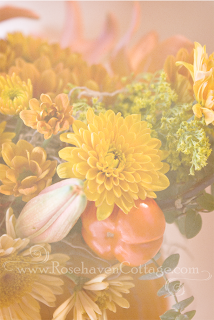
Then I use the "Place" command to place a texture from a separate file into my current file as a new layer. In this instance, I used my own texture "Toasted Marshmallow" (available in my Texture Confections variety pack by clicking here).
I enlarge the texture so that it covers the original photo layer completely (don't worry, the other layer is just underneath like one piece of paper on top of another). Then with the new texture layer selected I go to my "Layers" menu and select "Screen". Then I reduce the opacity of the texture layer to 60%. And it looks like this:

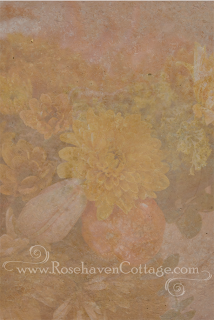
Next, I use the "Place" command again to add another texture layer. This time it's my own texture "Chaps" from The American West variety pack (available by clicking here).
I rotate and resize the texture so it covers the other two beneath it completely. Then I select the texture layer and reduce the opacity to 70% so it looks like this:

See how it's starting to look like a faint drawing? At this point, with the top texture still selected, I change to the eraser tool and choose a soft edged brush at 10% opacity. Using my digital tablet and stylus (you can do it with a mouse too although it's easier with the tablet and stylus). I "draw" on the edges of the petals to erase away the edges where the light highlights them. I erase away in shadows too. I change the size of my eraser depending on the detail I'm erasing. For the petals, I use a small eraser and for the background I use a large eraser.
Then if I want to enhance some of the shadows and highlights even more, I select the original photograph layer and with the dodge and burn tool set at 10%, I "draw" over a few of the highlights and shadows to really accentuate them as if I was going in with white or dark chalk and deepening those areas.
And the final result looks the photo at the beginning of this post!
As always don't hesitate to ask me questions in your comments.
I will do my best to answer them here as a reply comment.
Happy creating and remember...
Create beauty, not deadlines


No comments:
Post a Comment